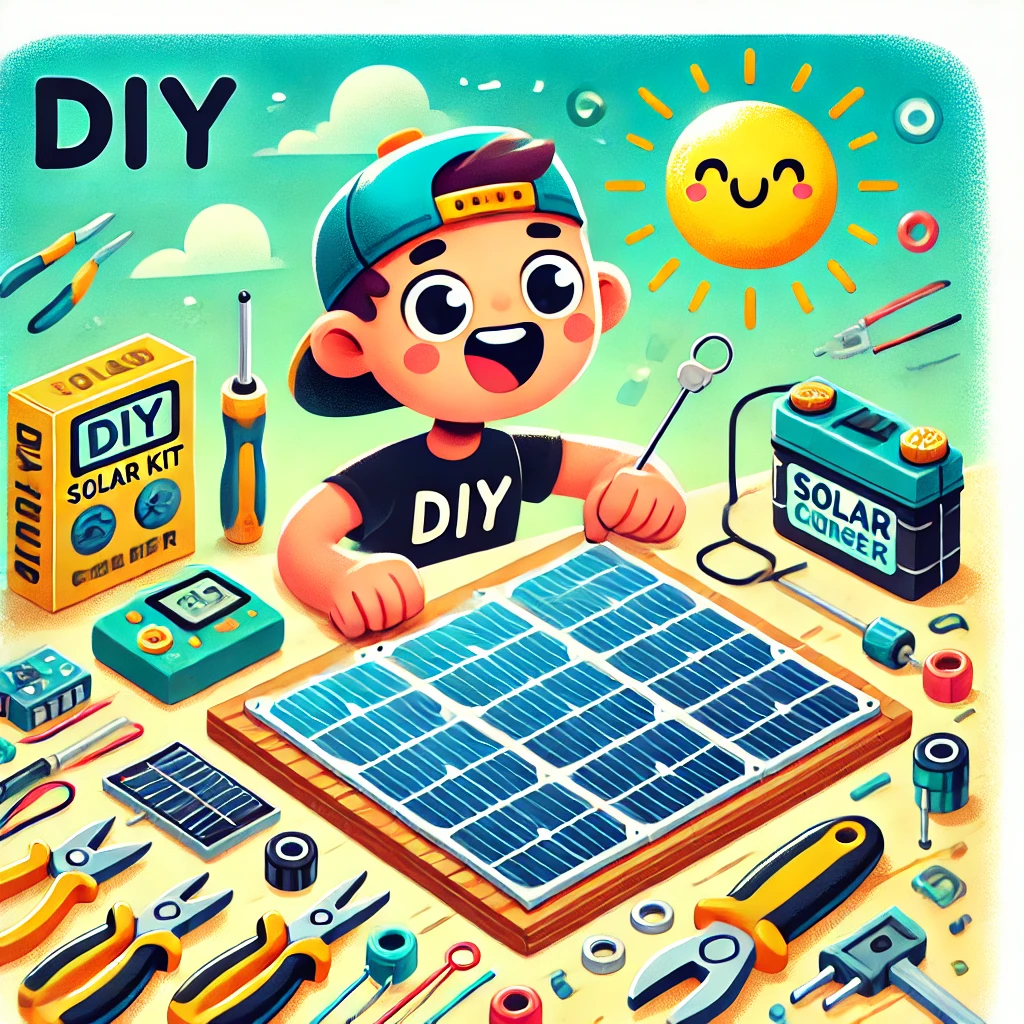
As the world shifts towards sustainable energy solutions, solar power has become an increasingly popular choice for powering everyday devices. A DIY solar charger kit is a fantastic way to harness the sun’s energy while learning about renewable power systems. Whether you want to charge your smartphone, power small appliances, or set up an off-grid solution, a DIY solar charger kit can be both an educational and practical project.
Why Choose a DIY Solar Charger Kit?
Building your own solar charger kit offers several benefits:
- Cost Savings – Purchasing a pre-made solar charger can be expensive, but building your own allows you to save money while tailoring the system to your needs.
- Customization – You can design the kit based on your specific energy requirements and device compatibility.
- Educational Experience – Assembling a solar charger kit is a great way to learn about solar energy, electrical circuits, and sustainable technology.
- Emergency Preparedness – Having a reliable source of energy during power outages or outdoor adventures is invaluable.
Essential Components of a DIY Solar Charger Kit
To build a fully functional DIY solar charger kit, you will need the following components:
1. Solar Panel
- The primary component that captures sunlight and converts it into electricity.
- Choose a panel with an appropriate wattage, typically 5W-20W for small devices.
2. Charge Controller
- Regulates the voltage and current coming from the solar panel to prevent overcharging.
- A PWM or MPPT charge controller can be used, depending on your budget and energy needs.
3. Rechargeable Battery
- Stores excess energy for later use, especially when the sun isn’t shining.
- Lithium-ion, LiFePO4, or lead-acid batteries are common choices.
4. DC-DC Converter or Voltage Regulator
- Ensures the right voltage output for different devices.
- A 5V USB output is needed for charging smartphones and small gadgets.
5. Wiring and Connectors
- Necessary for connecting all components securely.
- Use MC4 connectors, alligator clips, or a soldering kit for a stable setup.
6. Enclosure or Casing
- Protects the components from dust, water, and physical damage.
- A weather-resistant box or plastic container is ideal.
Step-by-Step Guide to Building a DIY Solar Charger Kit
Step 1: Choose the Right Solar Panel
Determine your power needs before selecting a panel. For example, charging a smartphone requires at least 5W-10W, while a laptop may need 50W or more.
Step 2: Connect the Charge Controller
Attach the solar panel to the charge controller to regulate voltage and prevent battery overcharging.
Step 3: Attach the Battery
Connect a rechargeable battery to the charge controller. This allows you to store energy for later use when sunlight is unavailable.
Step 4: Install a DC-DC Converter
If your devices require a specific voltage (e.g., 5V for USB charging), install a voltage regulator or DC-DC converter.
Step 5: Assemble the Wiring and Connections
Securely wire all components, ensuring correct polarity (positive to positive, negative to negative). Use heat shrink tubing or electrical tape to insulate exposed connections.
Step 6: Test the System
Before sealing everything inside an enclosure, test the system by placing the panel in direct sunlight and verifying output voltage and current.
Step 7: Secure the Components in an Enclosure
For protection and portability, place the system inside a waterproof box or a DIY frame.
Applications of a DIY Solar Charger Kit
- Charging Smartphones and Tablets – Great for off-grid living, camping, and emergencies.
- Powering LED Lights – Ideal for outdoor lighting solutions.
- Running Small Appliances – Useful for small DC-powered gadgets.
- Backup Power Source – Acts as an emergency backup during power outages.
- Educational and STEM Projects – A great learning experience for students and hobbyists.
Tips for Maximizing Efficiency
- Place the solar panel in direct sunlight – Avoid shade to get maximum efficiency.
- Use an MPPT charge controller – It optimizes energy transfer, making the system more efficient.
- Select high-quality connectors and wiring – Reduces energy loss and improves reliability.
- Monitor battery levels – Prevent overcharging or deep discharge to extend battery lifespan.
Conclusion
Building a DIY solar charger kit is a rewarding project that provides a sustainable and portable energy source. With the right components and careful assembly, you can create a cost-effective and efficient solar charging system for various applications. Whether you need a backup power solution, a learning experience, or an off-grid energy source, a DIY solar charger kit is a smart and eco-friendly investment.
By following this guide, you’ll be well on your way to harnessing the power of the sun and creating a customized solar charging solution that meets your needs!


