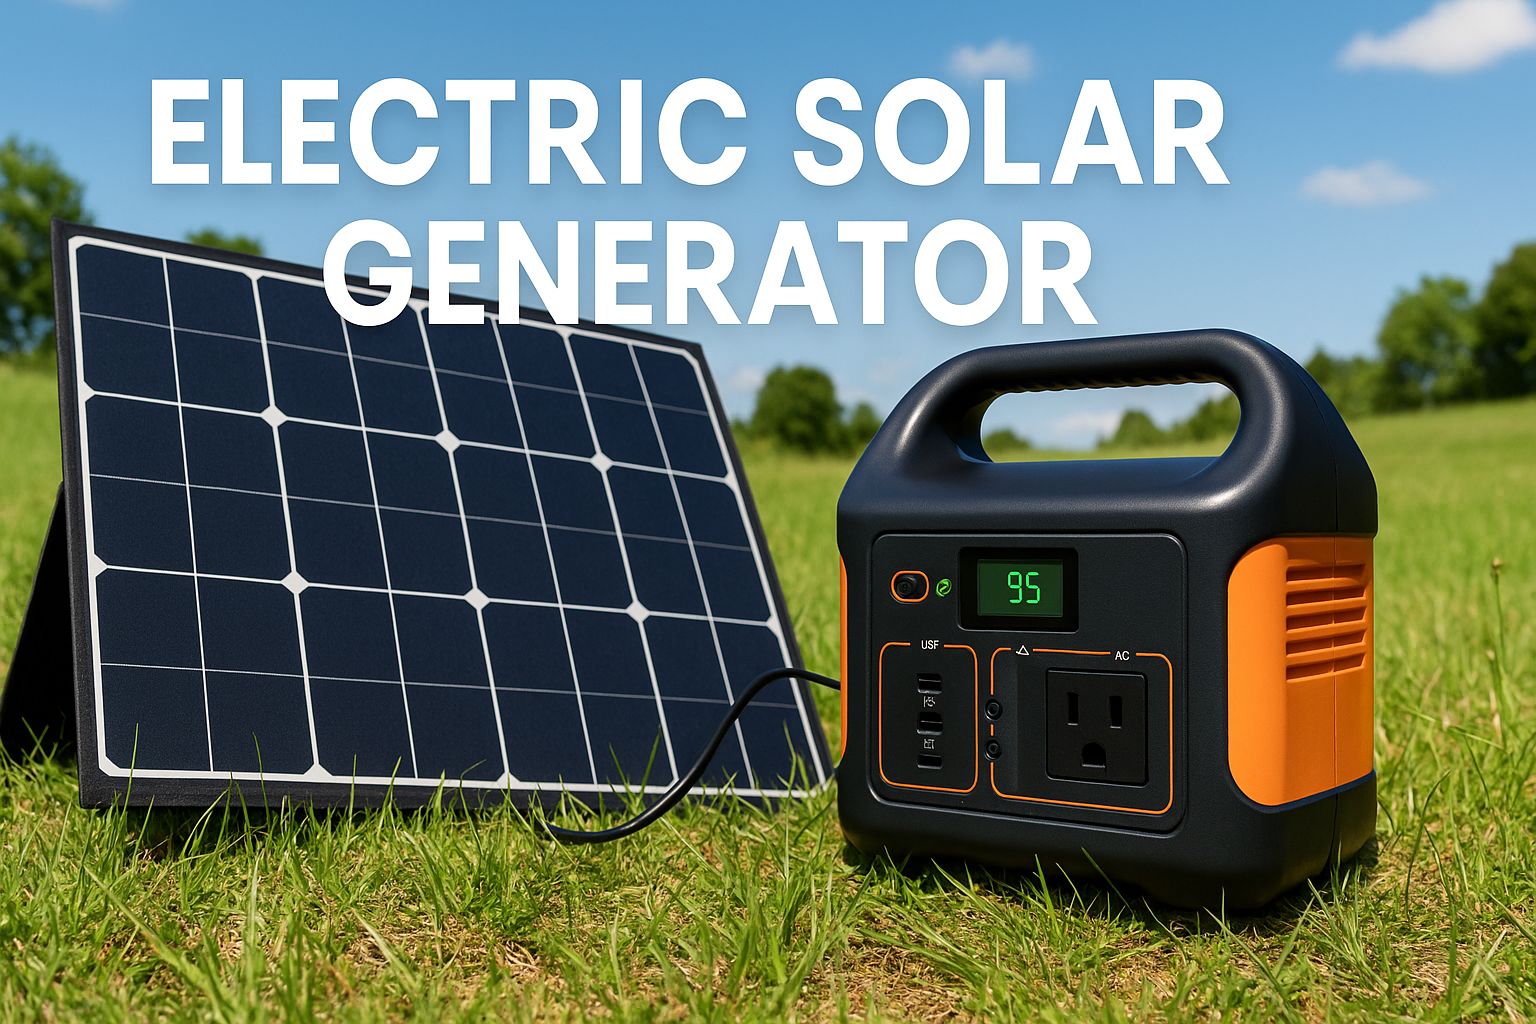
As the world moves towards renewable energy, solar-powered gadgets are becoming increasingly popular. One of the most useful and eco-friendly devices you can create yourself is a DIY solar panel power bank. This handy tool allows you to harness the sun’s energy to charge your electronic devices on the go, making it perfect for camping trips, emergencies, or everyday use. In this guide, we’ll walk you through the process of building your own solar power bank from scratch, covering the materials you’ll need, step-by-step instructions, and tips to maximize efficiency.
What is a DIY Solar Panel Power Bank?
A DIY solar panel power bank is a portable device that uses solar panels to generate and store electrical energy. This stored energy can be used to charge various electronic devices like smartphones, tablets, cameras, and even small appliances. Building your own solar power bank is not only cost-effective but also gives you the flexibility to customize the capacity and features according to your needs.
Why Build Your Own Solar Power Bank?
- Cost Savings:
DIY solar power banks are often cheaper than commercial alternatives, and you can use affordable, readily available components. - Customization:
Tailor the power bank’s capacity, size, and features to suit your specific needs. - Sustainability:
Reduce your carbon footprint by using renewable energy. - Educational Experience:
Learn about solar technology and basic electronics through a hands-on project. - Emergency Preparedness:
Ensure you have a reliable, off-grid power source for emergencies or outdoor adventures.
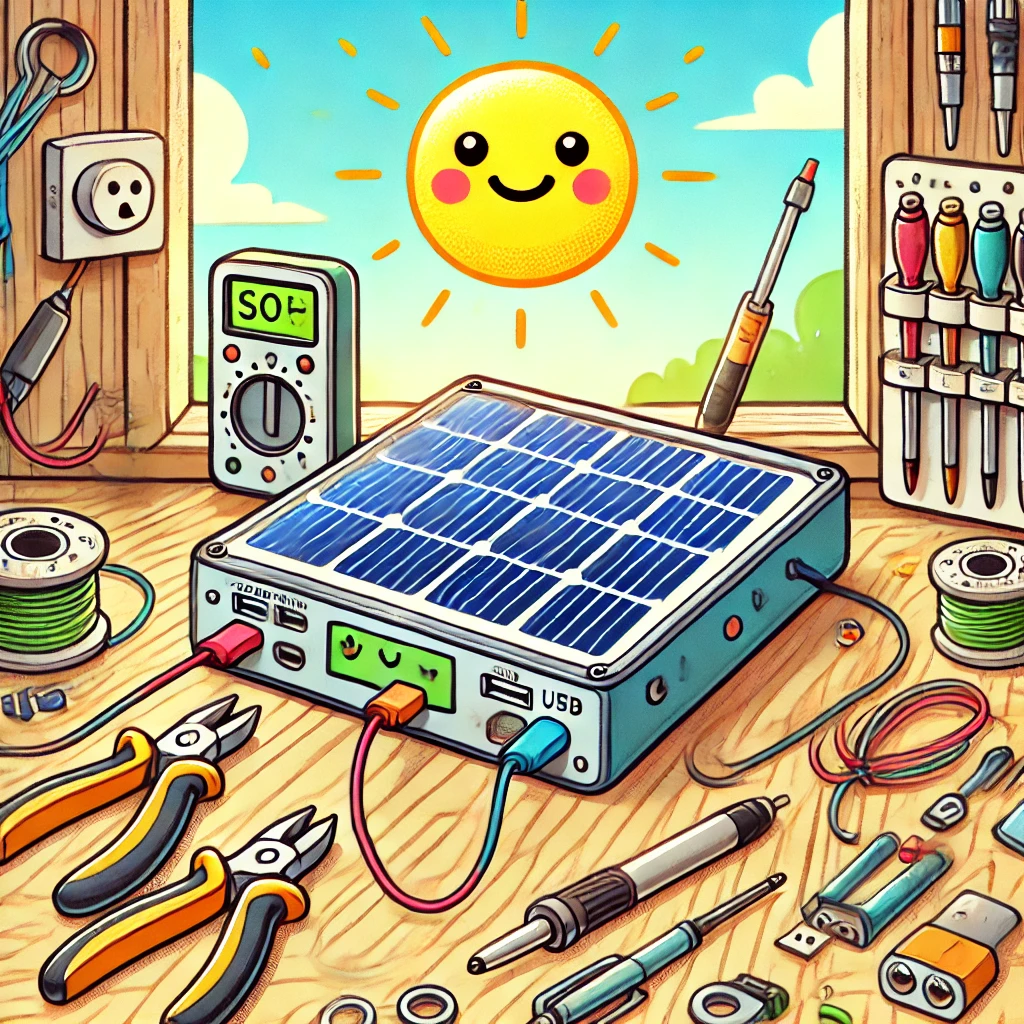
Materials Needed to Build a DIY Solar Panel Power Bank
- Solar Panels:
Choose panels based on the desired output. A 5V, 1-2A panel is ideal for charging USB devices. - Rechargeable Batteries:
Lithium-ion or lithium-polymer batteries are preferred for their high energy density. - Battery Management System (BMS):
Ensures safe charging and discharging of the batteries. - Charge Controller:
Regulates the voltage and current from the solar panels to prevent overcharging. - DC-DC Converter (Boost Converter):
Converts the battery’s voltage to a stable 5V output for USB devices. - USB Output Ports:
For connecting and charging your devices. - Enclosure or Casing:
A durable case to house all components and protect them from damage. - Wires and Connectors:
For connecting various components. - Soldering Kit (Optional):
For secure and permanent electrical connections. - Multimeter:
To test voltage and current at various stages.
Step-by-Step Guide to Building a DIY Solar Panel Power Bank
- Plan Your Design:
Decide on the power bank’s capacity and features. Sketch a simple circuit diagram to guide your build. - Connect the Solar Panels:
Wire the solar panels in series or parallel depending on your voltage and current requirements. Use a multimeter to ensure the panels produce the expected output. - Integrate the Charge Controller:
Connect the solar panel output to the charge controller. This will regulate the power flowing into the batteries, preventing overcharging. - Attach the Battery Management System:
Connect the BMS to the rechargeable batteries. This system will protect the batteries from overcharging, deep discharge, and short circuits. - Install the DC-DC Converter:
Wire the converter to the battery output to ensure a stable 5V output suitable for USB charging. - Add USB Output Ports:
Connect the USB ports to the DC-DC converter’s output. Test with a USB-powered device to ensure proper functionality. - Assemble the Enclosure:
Arrange all components neatly inside the enclosure. Secure them with adhesive or mounting brackets to prevent movement. - Test the Power Bank:
Place the solar panels under sunlight and use a multimeter to check the voltage at various points. Test charging a device to ensure everything works as intended. - Final Touches:
Seal the enclosure to protect against dust and moisture. Label the ports and components if needed.
Tips for Maximizing Efficiency of Your DIY Solar Power Bank
- Optimal Sunlight Exposure:
Position the solar panels at an angle that maximizes sunlight exposure throughout the day. - Use High-Quality Components:
Invest in efficient solar panels and reliable batteries for better performance. - Monitor Energy Usage:
Use a battery level indicator or voltage display to track the power bank’s status. - Keep Components Cool:
Avoid overheating by ensuring proper ventilation in the enclosure. - Regular Maintenance:
Clean the solar panels periodically to remove dust and debris that can reduce efficiency.
Common Mistakes to Avoid When Building a DIY Solar Power Bank
- Incorrect Wiring:
Double-check all connections to ensure correct polarity and secure soldering. - Overloading the System:
Don’t connect devices that exceed the power bank’s capacity. - Ignoring Battery Safety:
Always use a Battery Management System to prevent dangerous overcharging or discharging. - Poor Quality Components:
Using cheap or incompatible parts can lead to inefficiency or damage. - Inadequate Insulation:
Ensure wires and components are properly insulated to prevent short circuits.
Benefits of Using a DIY Solar Power Bank
- Eco-Friendly Energy:
Reduce reliance on fossil fuels by harnessing renewable solar power. - Portable and Convenient:
Charge your devices anywhere, anytime—perfect for travel, camping, and emergencies. - Educational Opportunity:
Gain hands-on experience with electronics and renewable energy technology. - Customization:
Build a power bank that suits your specific energy needs and preferences. - Emergency Backup:
Have a reliable, off-grid power source for critical situations.
Conclusion
Building your own DIY solar panel power bank is a rewarding and practical project that combines sustainability with functionality. By following this guide, you can create a portable, eco-friendly power source tailored to your needs. Whether you’re looking to save money, reduce your carbon footprint, or simply enjoy the satisfaction of a successful DIY project, a homemade solar power bank is a fantastic addition to your toolkit. Embrace renewable energy and take the first step towards a more sustainable, self-sufficient lifestyle.
FAQs
- How long does it take to charge a DIY solar power bank?
It depends on the solar panel’s size and sunlight conditions. Typically, it can take 4-8 hours under direct sunlight. - Can I charge the power bank without sunlight?
If you include a secondary charging option (like a USB input), you can charge it via wall outlets when sunlight isn’t available. - What devices can I charge with a DIY solar power bank?
Most USB-powered devices like smartphones, tablets, cameras, and small gadgets can be charged. - Is it safe to build my own solar power bank?
Yes, as long as you follow safety guidelines, use a Battery Management System, and ensure proper wiring. - How much does it cost to build a DIY solar power bank?
Depending on the components used, it can range from $20 to $100.