
Everbrite Solar Lights require simple setup: charge in sunlight, and mount using screws or adhesive. To operate, switch to ON and place in a bright area.
Everbrite Solar Lights are an excellent way to illuminate your outdoor space without the hassle of wiring or high electricity bills. These eco-friendly lights rely solely on solar power. They feature an easy installation process, where you first let the light charge in direct sunlight for a full day, ensuring optimal function.
After charging, you secure the light in your chosen location, ideally where it can receive ample sunlight during the day to recharge the battery. This could be on a wall, fence, or any area that needs extra lighting. Once installed and turned on, the Everbrite’s built-in sensor automatically activates the light at dusk, providing a convenient and energy-efficient lighting solution for your home. Ideal for garden paths, stairways, and patios, Everbrite Solar Lights enhance security and visibility after dark.
Everbrite Solar Light Unboxing
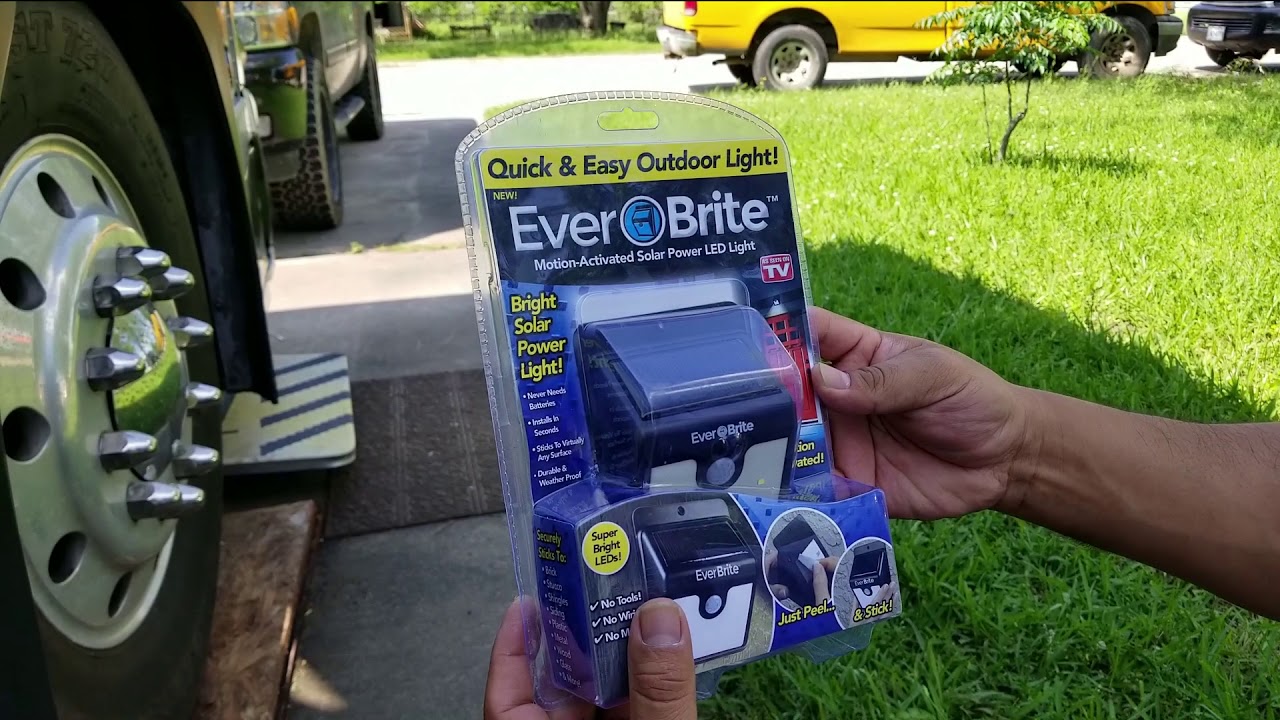
Welcome to the unboxing experience of the Everbrite Solar Light, the sleek and eco-friendly solution for outdoor lighting. This post segment focuses on what to expect once you receive your Everbrite Solar Light, providing a detailed overview of the items included in the box and the tools you’ll need for a smooth installation. Let’s shed some light on the components and the setup process of this solar-powered illuminator.
Unveiling The Product Components
Upon opening the Everbrite Solar Light package, you’re greeted with an array of components designed for optimal functionality. Each item is carefully packaged to arrive in pristine condition, ready to brighten up your outdoor space.
- Solar Light Panel: The heart of the system, converting sunlight into electricity.
- LED Light: Housed within the panel, these energy-efficient bulbs promise long-lasting night-time illumination.
- Mounting Bracket: A sturdy support that attaches the solar light to various surfaces.
- Screws and Wall Plugs: Secure the mounting bracket to your chosen spot.
- Motion Detector: Integrated within the panel for smart lighting activation.
- User Manual: Provides step-by-step guidance for setup and operation.
With all components neatly packed, your journey to a brighter outdoor ambiance begins.
Essential Tools For Installation
Before you embark on installing your new Everbrite Solar Light, ensure you have the following tools at hand to facilitate a smooth and efficient setup:
- Drill: For making pilot holes in the mounting surface.
- Drill Bits: Suitable for the screws provided with your solar light.
- Screwdriver: To drive the screws into place and secure the bracket.
- Measuring Tape: For precise placement and aligning of the light.
- Level: Guarantees the light is installed straight and level.
By preparing these tools before unboxing, you can ensure a seamless installation from the moment you reveal the Everbrite Solar Light’s contents.
Adhering to these pre-installation steps guarantees not only a swift assembly but also an effective and enduring outdoor lighting setup. Embrace the brilliance of solar power with the Everbrite Solar Light, knowing each component plays a significant role in illuminating your space.
Setting Up Everbrite Solar Light
Welcome to the illuminating world of solar lighting! In this part of the blog, we’ll dive into the nitty-gritty of installing your Everbrite Solar Light. Whether you’re a DIY enthusiast or simply looking to add some bright touches to your outdoor space, understanding the correct setup process is crucial. Here, we’ll guide you through choosing the optimal location and provide you with straightforward mounting tips to ensure your Everbrite lights up your nights effectively.
Choosing The Ideal Location
Your Everbrite Solar Light thrives under the sun, so picking a spot where it gets ample sunlight is essential. Consider these points:
- Direct Sunlight: Aim for a place that receives at least 6-8 hours of direct sunlight every day.
- Avoid Obstructions: Keep clear of overhanging trees and shadows from buildings that could block light.
- South-facing: In the northern hemisphere, a south-facing location maximizes sunlight absorption.
Mindful placement equates to optimal charging during the day and consistent illumination at night.
Simple Mounting Procedures
Once you’ve found the perfect location, it’s time to affix your Everbrite light. The process is breeze with these steps:
- Clean the installation area to ensure it’s free of debris and dust.
- Use the template provided to mark the drill points.
- Drill holes and insert the wall plugs.
- Position the light, screw it in place, and tighten.
- Activate the light by switching it to ‘ON’ and let the sun take over from there.
The simplicity of mounting your Everbrite Solar Light means that within minutes, you’re ready to bask in the glow of your eco-friendly, cost-saving outdoor lighting.
Activating Everbrite Solar Light
Welcome to your step-by-step guide on activating your Everbrite Solar Light. Perfect for outdoor lighting, the Everbrite Solar Light is a must-have for enhancing the safety and appeal of your garden, patio, or doorway. Ensuring your light functions to its full potential requires a proper activation process. Let’s illuminate the path to getting your Everbrite Solar Light up and shining brightly.
Initial Charging Process
The journey to a well-lit outdoor space begins with the Initial Charging Process. Charge your Everbrite Solar Light by placing it under direct sunlight for a full day. Follow these steps:
- Choose a location receiving optimal sunlight.
- Position the solar panel facing true south in the Northern Hemisphere or true north in the Southern Hemisphere for maximum exposure.
- Ensure the solar light is switched off to allow the internal batteries to reach a full charge before first use.
Tip: Charging on a bright, sunny day ensures better results and a more resilient lighting experience for the nights to come.
Power Switch And Modes Exploration
Once your Everbrite Solar Light is fully charged, familiarize yourself with the Power Switch and Modes Exploration. Initially hidden to protect against moisture, the power switch is located on the back or under the panel cover.
- Locate the power switch and turn your light on.
- Explore the different lighting modes if your model offers them—some options include steady, motion detector, and dim mode.
- Choose a preferred mode that fits your needs. Select steady mode for a constant source of light, or motion detector for energy-efficient, motion-activated illumination.
Remember: Familiarizing yourself with these settings will allow you to customize your outdoor lighting experience and make the most of the Everbrite Solar Light’s capabilities.

Credit: www.amazon.com
Optimizing Solar Light Performance
Welcome to our handy guide on optimizing your Everbrite solar light performance. Solar lights are a sustainable and economical choice for outdoor lighting, but their efficiency heavily depends on a few critical factors. From proper positioning to regular maintenance, there are several straightforward steps you can take to ensure your solar lights function at their peak. Let’s dive into how you can harness the full power of the sun with your Everbrite Solar Lights.
Positioning for Maximum Sunlight Exposure
Positioning For Maximum Sunlight Exposure
Strategic placement of solar lights is paramount to maximize sunlight absorption. Here are key pointers to ensure your Everbrite solar lights get the most light:
- Observe Sun Patterns: Analyze your outdoor space to identify areas that receive ample sunlight throughout the day.
- Avoid Shade: Keep the lights away from potential shade from trees, buildings, or other structures, especially during peak sunlight hours.
- Optimal Angle: Tilt the lights toward the south (in the Northern Hemisphere) to align with the sun’s path.
- Clean Regularly: Ensure the solar panels are free of debris and dust that can obstruct sunlight.
Maintenance Tips for Efficiency
Maintenance Tips For Efficiency
Regular upkeep is essential for maximum efficiency of your Everbrite solar lights. Follow these maintenance tips:
- Clean Solar Panels: Use a soft cloth to gently wipe the panels. Remove leaves, bird droppings, snow, or any obstruction.
- Check Batteries: Replace batteries every 1-2 years or as needed to maintain optimal energy storage.
- Inspect Fixtures: Examine the lights for any signs of damage and repair or replace any broken components immediately.
- Adjust Settings: Customize light settings based on your needs and seasons to preserve energy.
By following these tips, you’ll help prolong your Everbrite Solar Lights’ lifespan and enjoy a bright, energy-efficient lighting solution.
Troubleshooting Common Everbrite Issues
Everbrite Solar Lights are a popular choice for homeowners looking to light up their outdoor spaces efficiently and sustainably. However, like any product, they can encounter issues that can be frustrating for users. Understanding how to troubleshoot common problems can help keep your Everbrite lights shining bright. This guide will walk you through some typical issues and provide the solutions you need to resolve them quickly.
Dealing With Dimming Lights
Dimming lights can be indicative of several issues with your Everbrite Solar Lights. Check the following to ensure your lights stay as luminous as they were designed to be:
- Clean the Solar Panel: Dust and debris can obstruct the solar panel, limiting its charging capacity. Wipe it gently with a damp cloth to clear away any buildup.
- Check Battery Connection: Sometimes the battery connection can come loose. Ensure the battery terminals are clean and tightly connected.
- Replace the Battery: Solar light batteries typically last 1-2 years. If your lights are dimming prematurely in the evening, it might be time for a battery replacement.
- Location Matters: Make sure your Everbrite lights are installed in a location where they can receive maximum sunlight during the day.
Consistent dimming could also be a sign of LED wear out or damage to the internal circuitry. In such cases, professional advice is recommended.
When To Contact Support
Dealing with persistent issues can be challenging. It’s important to know when to seek help. Contact Everbrite support in the following situations:
- When basic troubleshooting doesn’t fix the dimming issue.
- If the lights stop working altogether after trying the suggested solutions.
- When you suspect product defects or wiring issues, especially if the lights are still under warranty.
- For guiding through complex processes such as internal component checks or replacements that are not user-serviceable.
Customer support can provide advanced solutions or arrange replacements if necessary. Document any steps you’ve already taken and have your product details ready to expedite the support process.
Frequently Asked Questions
How Do I Install Everbrite Solar Lights?
Everbrite Solar Lights are easy to install. First, choose a sunny location. Then, use the included screws or adhesive pad to mount the light. Ensure it’s placed where sunlight can reach the solar panel.
Can Everbrite Lights Withstand Bad Weather?
Yes, Everbrite Solar Lights are designed to be weather-resistant. They can endure rain, snow, and minor weather conditions. However, extreme conditions may affect their longevity and performance.
How Long Do Everbrite Solar Lights Last?
On a full charge, Everbrite Solar Lights typically last between 6 to 8 hours. Their lifespan can extend up to a few years with proper maintenance and optimal sunlight exposure.
Do Everbrite Lights Require Battery Replacements?
No, Everbrite Solar Lights have built-in rechargeable batteries. They get charged by solar power. Replacement isn’t usually required, making them convenient and cost-effective.
Conclusion
Wrapping up our guide on Everbrite Solar Lights, we’ve covered essential installation and maintenance tips to ensure longevity. Remember, proper positioning maximizes solar charging. To keep your outdoor spaces illuminated, trust in Everbrite’s dependable design. Embrace eco-friendly lighting, and enjoy your well-lit ambiance tonight!