
To make a solar oven with mirrors, align reflective surfaces to focus sunlight into a cooking area. Use a cardboard box and attach multiple mirrors to concentrate the heat.
Harnessing the sun’s power for cooking is both eco-friendly and efficient. By constructing a solar oven, you can bake, roast, or steam food without the need for conventional fuel sources. The principle behind a solar oven is simple: mirrors are positioned to reflect and concentrate sunlight into a contained area, thus generating heat.
This DIY project is not only a fun and educational experience but also serves as a resourceful way to cook outdoors. Suitable for science projects or sustainable living enthusiasts, building a solar oven can teach valuable lessons about renewable energy and innovation. Whether for camping, emergency preparedness, or reducing your carbon footprint, a homemade solar oven with mirrors is a practical tool that showcases the awesome power of the sun.

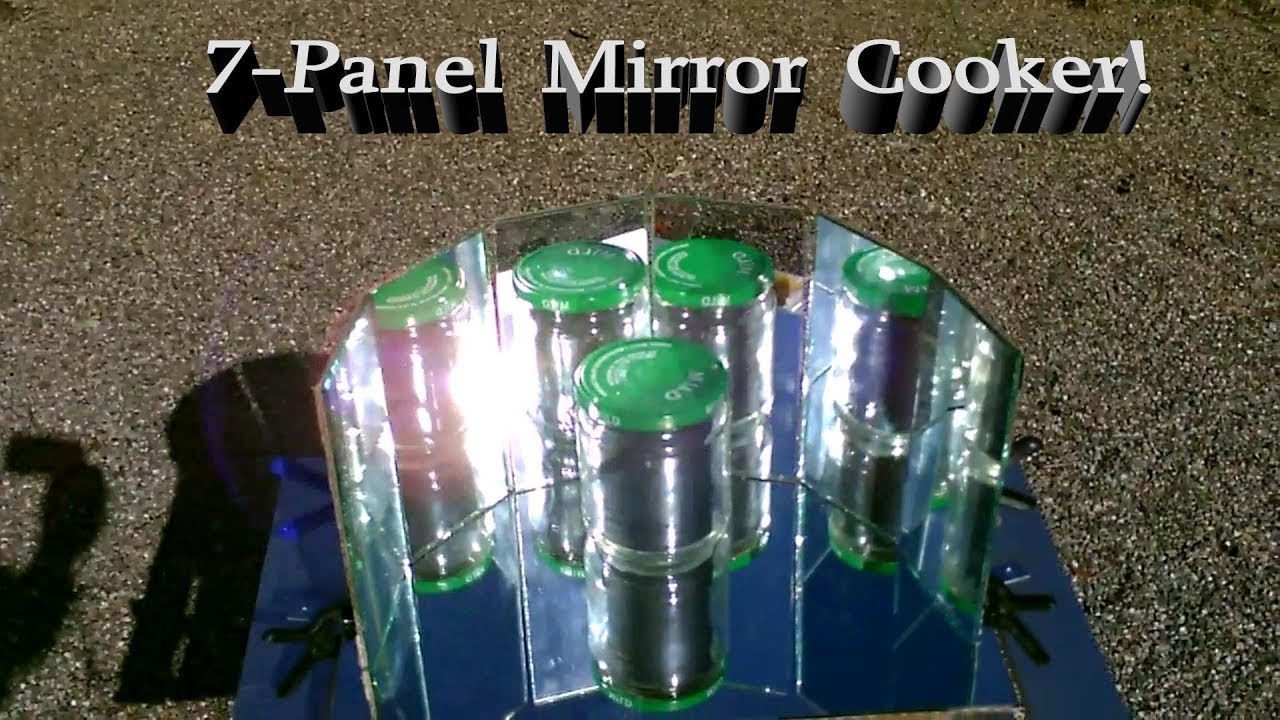
Credit: www.omick.net
Understanding The Basics Of Solar Ovens
Embarking on the journey of creating a solar oven with mirrors begins with a solid understanding of solar ovens. These fascinating devices harness the power of the sun, transforming it into heat for cooking. Simple in design yet powerful in impact, solar ovens can bake, roast, and steam a variety of foods using nothing but solar energy. Let’s delve into their benefits and explore the principles that make solar cooking possible.
Benefits Of Solar Ovens
- Environmental Friendly: Solar ovens don’t emit harmful pollutants, making them an excellent choice for eco-conscious individuals.
- Cost-Effective: After the initial setup, solar ovens require no additional fuel costs, reducing overall cooking expenses.
- Portable: Many solar oven designs are lightweight and foldable, perfect for camping trips or emergency preparedness.
- Safe: With no open flame, solar ovens present fewer fire hazards, making them safer than traditional cooking methods.
- Versatile: They can be utilized to cook a variety of dishes, from slow-cooked stews to baked bread.
Principles Of Solar Cooking
Solar ovens work on simple yet powerful principles:
- Concentration: Mirrors or shiny surfaces concentrate sunlight into a specific cooking area.
- Conversion: The concentrated sun rays convert into heat as they are absorbed by dark cooking surfaces.
- Containment: Insulating materials and glazing traps the heat, maintaining consistently high temperatures necessary for cooking.
Understanding these principles is crucial to constructing a solar oven that not only reaches but maintains the temperatures essential for cooking various foods. Each component from the reflective mirrors to the insulating walls plays a pivotal role in harnessing solar energy effectively.
A blend of physics, environmental science, and culinary arts, crafting a solar oven with mirrors serves as a rewarding project for the family, a learning experience for students, or a life-skill for adventurers and survivalists. This knowledge opens up a world of sustainable cooking that’s as beneficial to the earth as it is to our palate.
Building Your Solar Oven
Welcome to the energizing world of DIY energy, where you harness the sun’s power to cook up a storm! Today we dive into the the practical steps involved in building your very own solar oven using mirrors. This eco-friendly project not only serves as a fun weekend activity but also gives you a sustainable cooking option that can save energy. Whether at a campsite or in your backyard, a solar oven is a fantastic way to cook using natural resources. Let’s roll up our sleeves and start the exciting project of assembling a solar cooker.
Selecting The Right Materials
Finding the optimal components is crucial for creating an efficient solar oven. Begin with:
- Reflective mirrors: These serve as the primary tool for directing sunlight into the oven. Large, adjustable mirrors increase cooking power.
- Durable cardboard box: Acts as the exterior container for the oven.
- Insulation materials: Such as aluminum foil and black paint, to absorb and retain heat.
- Transparent cover, like a tempered glass or oven bag: This will trap the sun’s rays inside the oven.
Assembling The Reflective Surface
Next is the assembly of the reflective surface. Carefully attach mirrors to the interior sides of the box’s lid or use a separate stand to position them to reflect towards the cooking area. Ensure all surfaces reflect light efficiently, focusing maximum sunlight into your oven.
Constructing The Cooking Chamber
The core of the solar oven is the cooking chamber. Line the inside of your cardboard box with aluminum foil, ensuring that it’s shiny side faces inwards to reflect the heat onto the pot. The chamber should be sealed well with tape or glue to prevent heat escape. Then cut a hole in the lid or on top of the box and securely place your transparent cover over it. This will concentrate the sun’s energy inside the chamber.
Installing Heat Absorbing Black Pot
Finally, introduce the heat-absorbing black pot. Painting a regular cooking pot black will serve to absorb heat. It is also beneficial to choose a pot with a lid to keep the heat inside. Place the pot inside your cooking chamber where it can get the most direct sunlight, and your solar oven will be prepared to cook.
Using Your Solar Oven Efficiently
Embracing the power of the sun, a solar oven with mirrors is a remarkable tool that harnesses solar energy for cooking. To fully benefit from this sustainable cooking method, knowing how to use your solar oven efficiently is essential. It requires specific techniques in positioning, monitoring, and cooking, ensuring you exploit every ray of sunshine to its fullest potential. Let’s dive into how you can achieve maximum efficiency with your solar oven.
Positioning And Aligning The Mirrors
Initially, the setup process is crucial for capturing as much sunlight as possible. Success starts with the correct positioning and alignment of the mirrors.
- Find the optimal location: Choose a spot that receives uninterrupted sunlight. Avoid shaded areas, especially during peak cooking hours.
- Angle with precision: Adjust the mirrors to reflect sunlight directly into the oven chamber. The mirrors should face the sun’s path across the sky.
- Use a sun tracker app: Such apps can help determine the sun’s trajectory, optimizing alignment.
Monitoring And Adjusting For Maximum Sunlight
After initial setup, ongoing attention to the oven’s positioning is necessary. As the sun moves, the angle of your solar oven’s mirrors will need subtle changes to maintain high cooking temperatures.
- Continuously observe the sunlight: If the oven’s temperature drops, realign the mirrors.
- Reposition every 30 minutes: A slight nudge can keep the oven in line with the sun’s movement.
- Watch for shadows: Regularly check for new obstructions that might create shade.
Tips For Successful Solar Cooking
For a truly pleasant solar cooking experience, consider these actionable tips:
Preheat the oven: Allow it to reach the desired temperature before placing your food inside.
| Food Type | Temperature | Cooking Time |
|---|---|---|
| Meats | 180°F – 200°F | 1-3 hours |
| Vegetables | 160°F – 180°F | 30 mins – 1 hour |
| Breads | 300°F – 350°F | 1-2 hours |
- Use dark cookware: Dark-colored pots absorb more heat, speeding up the cooking process.
- Seal the oven well: A tight seal retains heat more effectively. Ensure the oven’s lid or door is closed snugly.
- Patience pays off: Solar cooking typically takes longer, so give it time.
Frequently Asked Questions Of How To Make A Solar Oven With Mirrors
Can You Use Mirrors For A Solar Oven?
Yes, you can use mirrors in a solar oven to reflect and concentrate sunlight, thus increasing the oven’s temperature for efficient cooking.
How To Make A Solar Oven Step By Step?
Gather a cardboard box, aluminum foil, plastic wrap, and tape. Line the box interior with foil, shiny side out, ensuring it’s smooth. Seal the box’s lid with plastic wrap, creating a window. Angle the box towards the sun, and place your food inside on a black dish to cook.
How To Make A Solar Oven Out Of A Pizza Box?
To make a solar oven from a pizza box, cut a flap in the lid, cover it with foil to reflect sunlight, and seal the opening with plastic wrap. Place black construction paper inside to absorb heat, and your solar oven is ready to cook using the sun’s power.
How To Make A Solar Oven With Cardboard And Aluminum Foil?
To make a solar oven, gather a cardboard box, aluminum foil, plastic wrap, tape, and newspaper. Line the box interior with foil, shiny side up, for reflection. Seal the opening with clear plastic wrap. Insulate with crumpled newspaper around the cooking area to retain heat.
Conclusion
Creating a solar oven with mirrors is a rewarding DIY project that harnesses the sun’s power. It’s eco-friendly, cost-effective, and surprisingly simple. Plus, it can cook your meals using nothing but sunlight. Embrace this sustainable method, and enjoy the satisfaction of cooking with nature’s own energy source.
Give it a try – your planet and your taste buds will thank you!